To add a new client, start by going to the Clients tab. Click the Add Client button located in the top right corner.
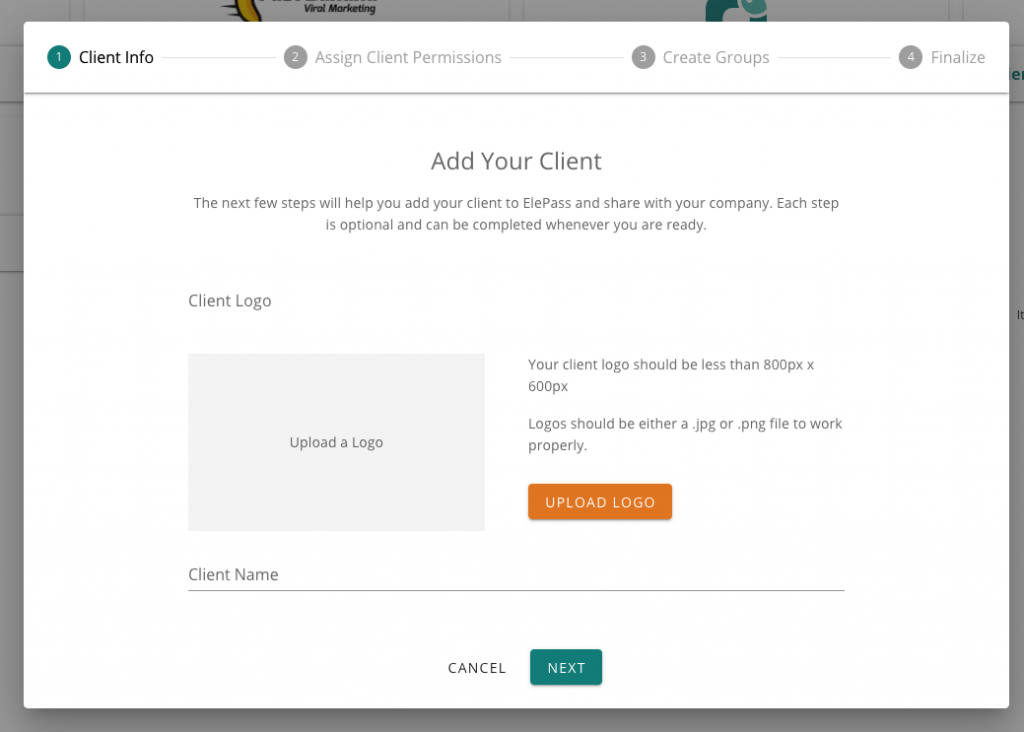
Step 1
Upload an optional logo of your client. Enter your client name and click Next.
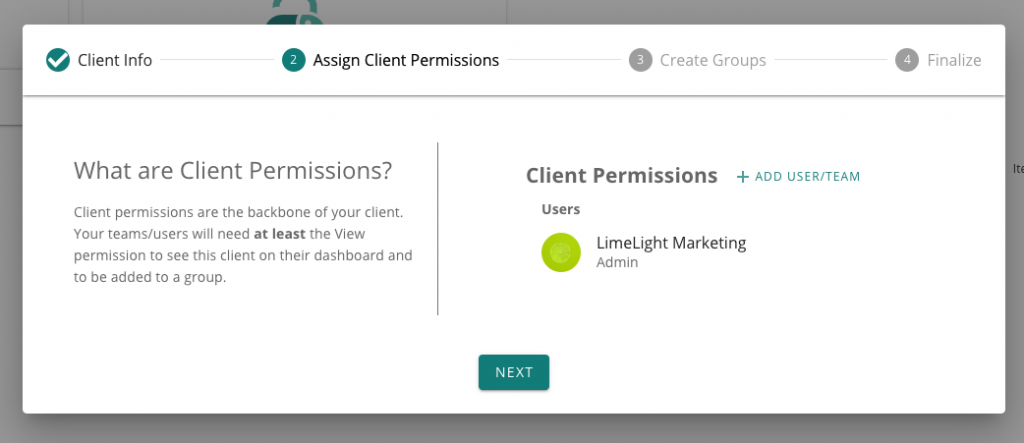
Step 2
In the client permissions step, you can add users and teams you’ve already created to your client. Once you’ve assigned client permissions, click Next. Note that the users must have at least the View permission to be added to a group.
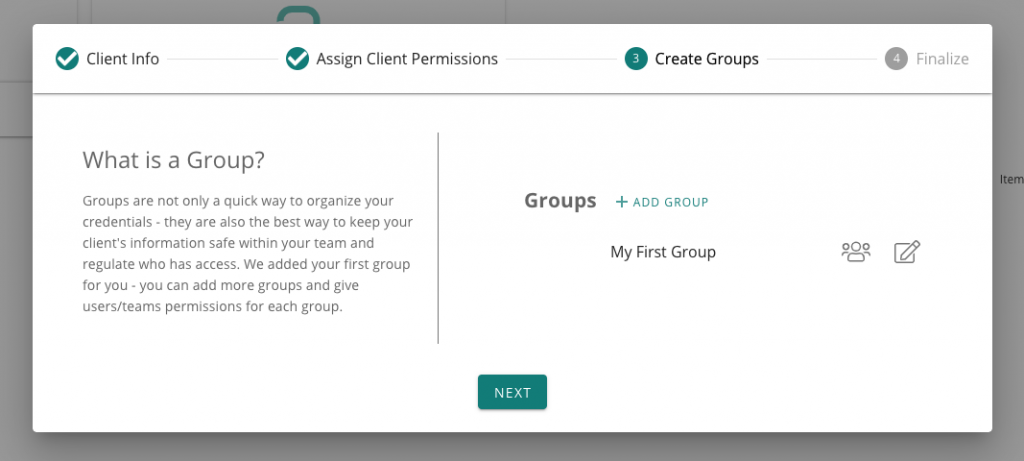
Step 3
Create a group to organize your credentials and give specific users/teams permissions. You can also use or edit the group we added for you. Click the save button, then Next.
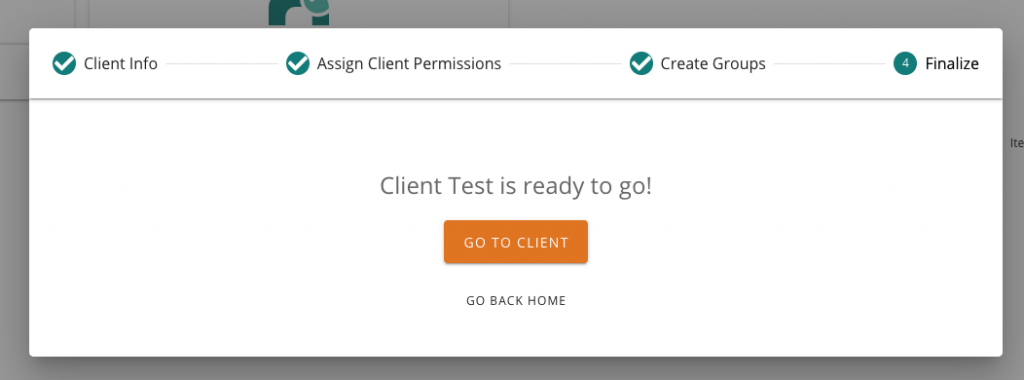
Step 4
You’re all set! Your Client has been created. If you need to edit or delete a client, click here.