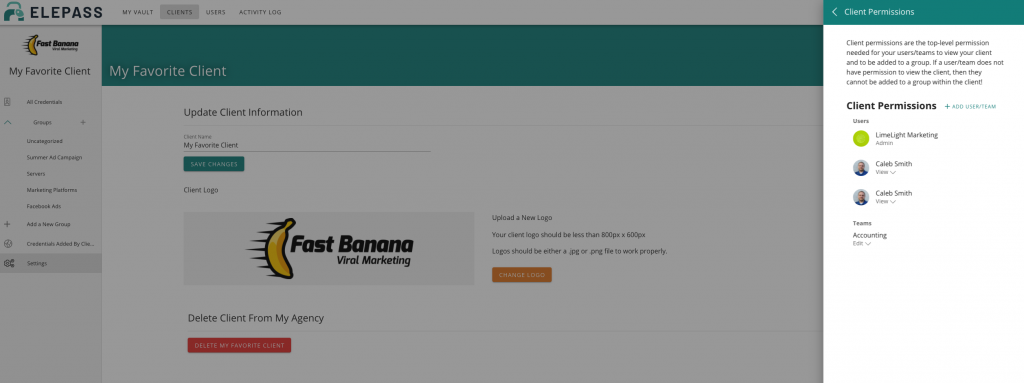
To begin making changes, select the client you want to edit. Next, click on the settings button in the bottom of the sidebar. On the settings page, you’ll be able to edit the name, logo, or delete the client. Make sure to save your changes once you’re done.
Updating Client Permissions
Select the Client Permissions button in the top right corner, choose a permission, then edit the users or teams using the dropdown menu. You can also decide whether the users or teams can view or edit the client. Don’t forget to save your changes.
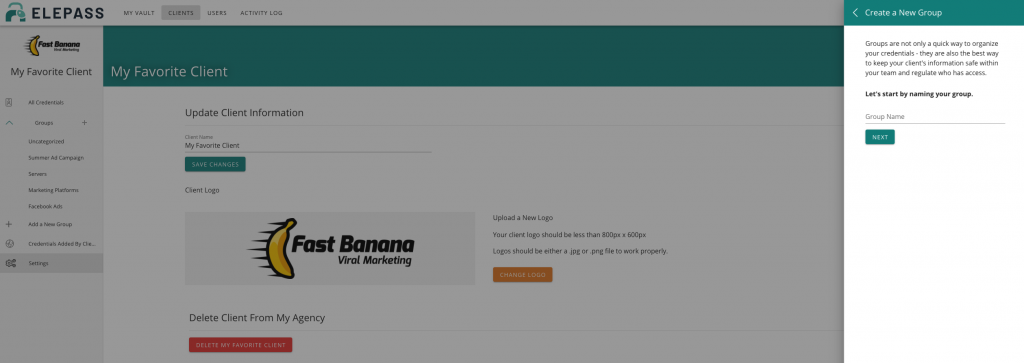
Adding a Group
Step 1
To add a group, select the Groups button on the sidebar and click the + or Add a New Group. Enter your group name and select Next.
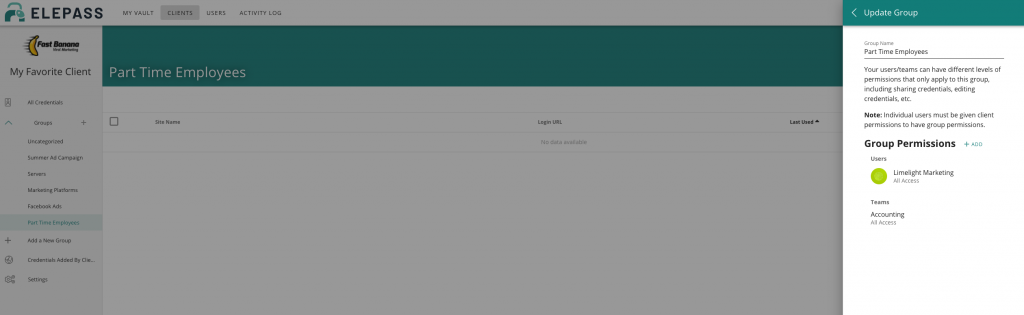
Step 2
Choose the + Add button next to Group Permissions, then select the users and teams you want to add using the dropdown menu. You can also set the permissions for your group here. Click Save.
Note: Individual users must be given client permissions to have group permissions.
To edit a group, see our article on How To Edit A Group.
Adding Credentials
Step 1
To add credentials, go to your client and click the blue plus sign button on the right hand side, located below the header. A new window will display for you to enter a credential.
Step 2
Make sure the first circle labeled, “I am” is selected. Enter your client info, credential info, along with any additional info that you would like to include. Click save in the top right hand corner. Your new credential will display in the list for users of the client to access.